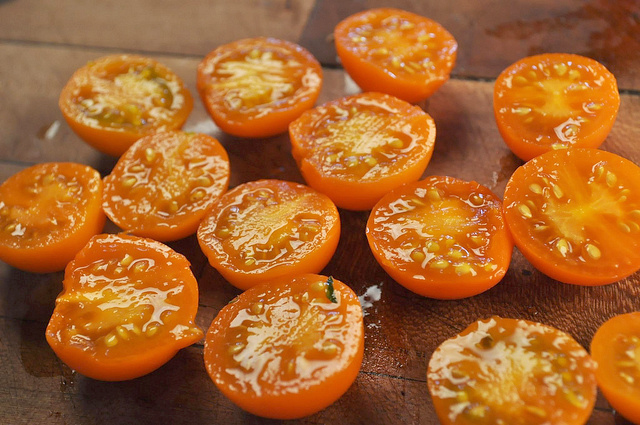
Collecting seeds is a daily habit at the Bosque. We work to keep our kitchen team in sync with our garden team so that any avocado pits, pumpkin seeds, or, in this case, tomato seeds, get processed correctly and planted. Last year we purchased the book Seed to Seed: Seed Saving and Growing Techniques for Vegetable Gardeners. While this book doesn’t cover all the plants that we eat here in the highlands, it is a fantastic overview on how to collect and store seeds from a wide variety of fruits and vegetables.
Tomato seeds are more complicated to save than most seeds. We collect them from tomato plants that do well here so that over generations of seeds we will have tomato plants that are perfectly adapted to the climate and dirt of our forest. The orange tomatoes pictured above are actually from our neighbor’s orchard. We are collecting her seeds while she is gone, and will trade her some of our seeds so that we can both have more variety.
If you look closely at a tomato seed, you’ll notice that each seed is encased in a gelatinous shell. In order to save the seeds for next season’s planting, it is necessary to remove that shell by fermenting the seeds. Not only will the gel make the seeds difficult to store, it also inhibits germination. When tomatoes fall to the ground and rot, fermentation naturally takes place which removes the shell so that the seeds can germinate. When we save tomato seeds, we just speed this process along.
To collect and save tomato seeds:
- Cut the fruit in half by the equator for the easiest removal of seeds without damaging the edible fruit. Scoop out the seeds and place in a container.
- Cover the seeds by an inch or so of water. Leave them for a few days, until a layer of filmy mold covers the surface. (Note that this might stink a bit, so keep it in an area where the smell won’t bother people)
If you let them ferment much longer than a few days, the seeds may start to germinate. - Dump the entire mixture through a fine strainer. Rinse until all you see is seeds.
- Let the seeds dry on a surface that will be easy to remove them from later. I use ceramic plates. If you have lots and lots of seeds, encourage even drying by stirring them a few times a day – whenever you think of it. The seeds will start to germinate if they are not dried quickly enough.
- Store in a dark, cool, dry area. For long term storage, seeds can be frozen.

Leave a Reply